
Table of Contents
How to Replace the Conditioner Switch Control in Your Automobile
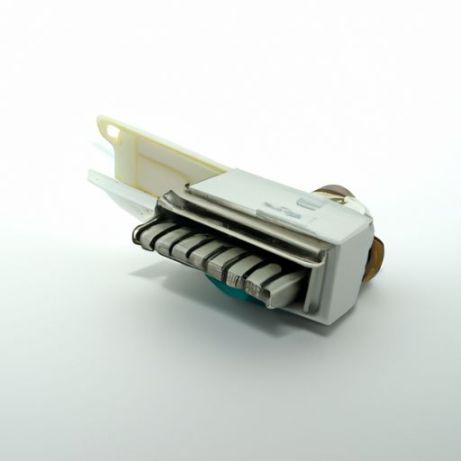
If you’ve noticed that your automobile’s air conditioner is not functioning properly, it may be time to replace the conditioner switch control. The conditioner switch control is a crucial component of the air compressor system in your vehicle, responsible for regulating the flow of refrigerant and controlling the temperature inside the car. Without a functioning conditioner switch control, your air conditioner may not work at all or may only blow hot air.
To replace the conditioner switch control in your automobile, you will need to first identify the specific part that needs to be replaced. The OEM part number for the conditioner switch control is 88320-B1010. This part is compatible with various models, including 447260-7940, 447260-5620, and 4472605620 GOUKU. It is important to ensure that you have the correct part number for your vehicle to avoid any compatibility issues.
 Once you have the correct part, you can begin the process of replacing the conditioner switch control. Start by locating the air compressor in your vehicle. The conditioner switch control is typically located near the compressor and is connected to the Wiring Harness. Before starting any work on your vehicle, be sure to disconnect the battery to prevent any electrical accidents.
Next, you will need to remove the old conditioner switch control. This may involve removing the panel or cover that is protecting the switch. Use a Screwdriver or Wrench to carefully remove any Screws or Bolts holding the switch in place. Once the switch is free, disconnect the wiring harness by carefully pulling it away from the switch.
After removing the old switch, you can now install the new conditioner switch control. Connect the wiring harness to the new switch, ensuring that it is securely in place. Carefully position the switch back into its housing and secure it with the screws or bolts that were removed earlier.
Once the new conditioner switch control is installed, you can reconnect the battery and test the air conditioner to ensure that it is working properly. Turn on the air conditioner and adjust the temperature to see if the new switch is functioning correctly. If the air conditioner is blowing cold air and the temperature is being regulated properly, then the replacement was successful.
In conclusion, replacing the conditioner switch control in your automobile is a relatively simple process that can be done at home with the right tools and knowledge. By following these steps and using the correct OEM part number, you can ensure that your air conditioner is working efficiently and keeping you cool during those hot summer months. Remember to always disconnect the battery before starting any work on your vehicle and to test the new switch before closing everything up. With a little bit of time and effort, you can have your air conditioner running smoothly once again.